The Allure of Azaleas and the Smart Choice to Propagate
Azaleas, with their breathtaking bursts of vibrant color, are undoubtedly one of the most cherished flowering shrubs in gardens worldwide. From delicate pastels to fiery reds and purples, these rhododendron cousins transform landscapes into living canvases. It's no wonder that garden enthusiasts often dream of expanding their azalea collection. However, the cost of purchasing multiple mature plants can quickly add up, making that dream seem out of reach for many.
Fortunately, there's a highly rewarding and incredibly cost-effective solution: propagating azaleas from cuttings. While the idea of growing new plants from just a small piece of an existing one might sound complex, the truth is, learning
how to propagate azaleas is a surprisingly straightforward process that even novice gardeners can master. Not only does it save money, but it also offers immense satisfaction as you watch your garden flourish with new life, all started from your own efforts. This comprehensive guide will walk you through every step, ensuring your success in expanding your beautiful azalea display.
Timing is Everything: Selecting Prime Cuttings for Success
The foundation of successful azalea propagation lies in choosing the right time and the right material. Think of it as giving your future plants the best possible start in life.
The ideal window for taking azalea cuttings is typically during
late spring to early summer. This is when the plant is actively putting out new growth, often referred to as "softwood" or "semi-hardwood" cuttings. These young, flexible stems are mature enough to have stored some energy but are still soft enough to readily form roots. Avoid taking cuttings from very woody, old growth, or excessively soft, brand-new flushes that might wilt too quickly.
When selecting branches, always prioritize
healthy, vigorous stems that show no signs of disease, pests, or stress. Look for branches that are firm but still pliable. Crucially, ensure that your chosen stems are free of any flower buds or actual flowers. Buds and blooms divert the plant's energy into reproduction, which is exactly what we want to avoid when trying to encourage root development. The goal is to channel all the cutting's resources into establishing a robust root system.
Step-by-Step Guide: From Snip to Soil
Once you've identified your ideal parent plant and the perfect time, it's time to get hands-on. Precision and hygiene are key at this stage to maximize your success rate.
1. Gather Your Tools and Take the Cuttings
Before you make the first cut, ensure you have all your supplies ready. This includes:
- Clean, Sharp Pruning Shears or a Sterilized Knife: Clean tools prevent the transfer of diseases. Wipe them down with rubbing alcohol before and between cuts.
- Rooting Hormone: Available in powder or gel form, this product significantly boosts root development.
- Small Pots or Biodegradable Cups: Approximately 3-4 inches in diameter, with drainage holes.
- Sterile Soilless Potting Mix: A blend of peat moss with perlite or vermiculite is ideal for excellent drainage and aeration.
- A Pencil or Dibber: For making holes in the potting mix.
- Misting Bottle: For maintaining humidity.
With your tools ready, take cuttings that are approximately
4-6 inches in length. Make your cut just below a "node" – the point where leaves emerge from the stem. Aim for stems that have at least three to four healthy leaves near the top. As mentioned, absolutely avoid any stems with flowers or buds, as these will sap energy needed for rooting.
2. Prepare Your Cuttings for Rooting
This step is crucial for promoting root development and preventing rot.
- Carefully remove all leaves from the lower 2-3 inches of each cutting. This exposed portion is where the roots will form, and removing leaves here prevents them from rotting in the moist soil, which could lead to fungal diseases.
- Using your sterilized blade or shears, make a fresh diagonal cut at the very bottom of the stem, just below the lowest node where you removed leaves. This diagonal cut increases the surface area for rooting hormone absorption and encourages root initiation.
- Some experts also recommend "wounding" the cutting slightly by scraping a thin strip of bark off one side of the lower stem, about half an inch long. This can further stimulate root growth by exposing more cambium tissue.
3. Apply Rooting Hormone
Rooting hormone, though not strictly mandatory, dramatically improves the chances of successful rooting and often leads to faster development.
- Dip the freshly cut, prepared end of each stem directly into the rooting hormone powder or gel.
- Ensure the bottom 1-2 inches of the cutting are thoroughly coated.
- Gently tap off any excess powder back into its container. Too much hormone can sometimes inhibit root growth.
4. Planting Your Azalea Cuttings
The environment your cuttings are placed in will greatly influence their success.
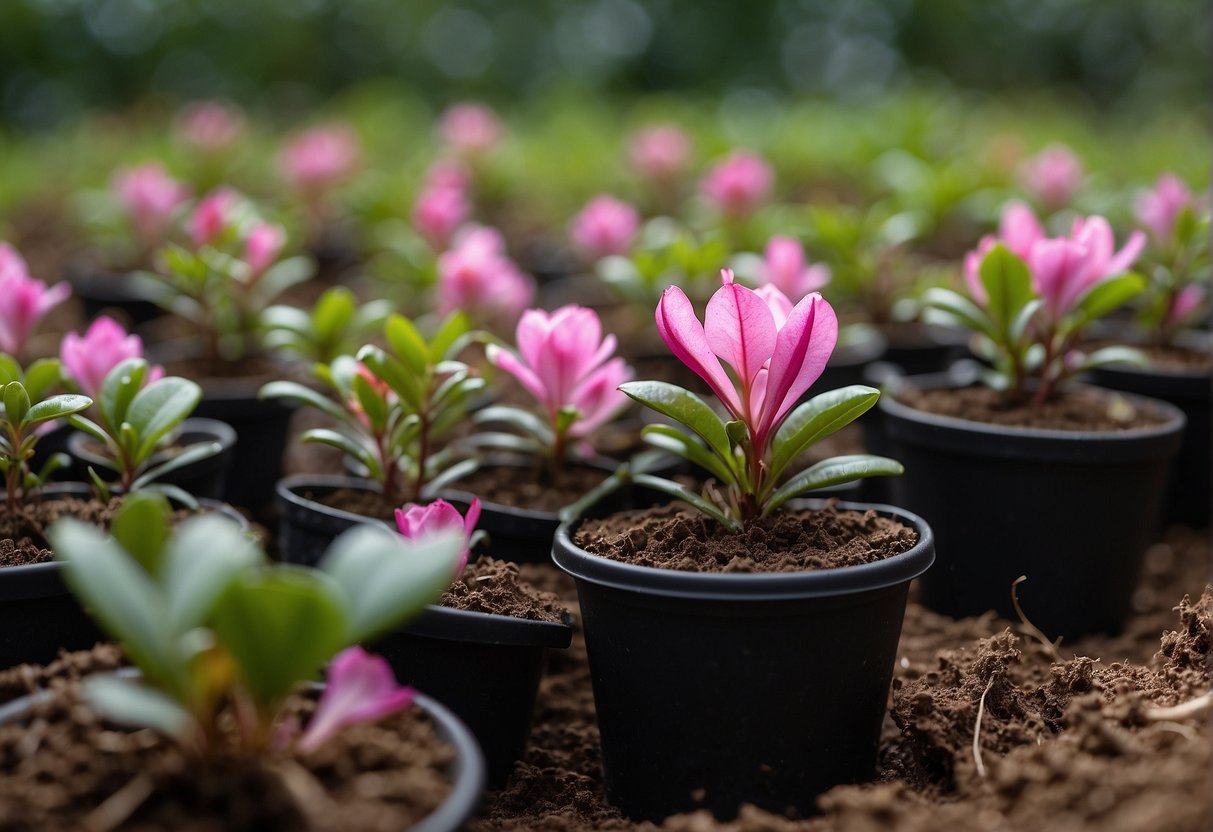
- Fill your small pots or biodegradable cups with the sterile soilless potting mix. This mix is preferred over garden soil because it’s lighter, drains better, and is less likely to harbor pathogens.
- Using a pencil or a dibber, poke a hole in the center of the potting mix in each cup, deep enough to accommodate the lower, hormone-treated part of the cutting without scraping off the hormone.
- Gently insert one treated cutting into each hole, ensuring the lower nodes are buried.
- Carefully firm the soil around the base of each cutting to ensure good contact between the stem and the growing medium.
- Water the pots thoroughly but gently until the potting mix is evenly moist, but not waterlogged. Excess water can lead to rot.
- Place the planted cuttings in a location that receives bright, indirect light – an east-facing window is often ideal. Avoid direct, harsh sunlight, which can scorch the tender cuttings.
For an added boost in humidity, you can create a mini-greenhouse effect by covering each pot with a clear plastic bag, supported by stakes so it doesn't touch the leaves, or by placing multiple pots under a clear plastic dome. This helps retain moisture and provides a stable environment for rooting. For more detailed visual guidance, check out
Propagate Azaleas from Cuttings: Your Easy Step-by-Step Guide.
Nurturing Young Azaleas: The Path to Robust Roots
Patience and consistent care are vital during the rooting phase. Think of these young cuttings as delicate babies needing a stable and nurturing environment.
Maintaining Ideal Conditions
- Temperature: Azalea cuttings root best in warm conditions. Aim for a consistent ambient temperature of around 70-80 degrees Fahrenheit (21-27°C). A heating mat can be incredibly beneficial, especially in cooler environments, to provide bottom heat which stimulates root growth.
- Moisture: Keep the potting mix consistently moist, but never soggy. Check the soil moisture daily by gently touching the surface – if it feels dry, water lightly. Overwatering is a common pitfall and can quickly lead to fungal issues and rot.
- Humidity: High humidity is crucial to prevent the cuttings from drying out while they lack roots to absorb water. Continue to mist the leaves daily, especially if you're not using a humidity dome or plastic bag. If you are using a dome, occasionally lift it for a few minutes to allow for air circulation and prevent mold buildup.
- Light: Maintain bright, indirect light. Direct sunlight is too intense and can stress the young cuttings.
During this stage, resist the urge to pull on the cuttings to check for roots, as this can damage any delicate new growth.
The Big Move: Transplanting Your Rooted Cuttings
After weeks of diligent care, the moment of truth arrives – checking for roots and transplanting your successful azalea clones.
Signs of Success
Rooting typically takes about
four to six weeks, though it can sometimes take longer depending on the azalea variety and environmental conditions. There are a few key indicators that your cuttings have rooted:
- Gentle Tug Test: Carefully give a very gentle tug on one of the cuttings. If it resists your pull and feels anchored in the soil, it likely has developed roots.
- New Leaf Growth: The appearance of new, fresh leaves at the top of the cutting is a strong sign that rooting has occurred and the plant is actively growing.
- Visible Roots: If you're using clear pots, you might even be able to see small white roots peeking through the drainage holes or against the sides of the pot.
The Transplanting Process
Once you've confirmed rooting, it's time to move your new azalea plants into larger pots or directly into a prepared garden bed.
- Prepare the New Home: If transplanting to larger pots, choose containers only slightly larger than the current ones, with good drainage, and fill them with a well-draining, acidic potting mix suitable for azaleas. If planting directly into the garden, ensure the soil is acidic (pH 4.5-6.0), rich in organic matter, and well-draining. Azaleas absolutely hate "wet feet."
- Acclimatization (Hardening Off): If your rooted cuttings have been indoors or under a humidity dome, they will need to be gradually introduced to outdoor conditions before permanent planting. Over 7-10 days, slowly expose them to increasing periods of outdoor light, temperature fluctuations, and wind. Start with a few hours in a shady, sheltered spot and gradually increase the time and exposure.
- Gentle Handling: When transplanting, be extremely careful not to disturb the fragile new root system. Gently tip the cutting out of its current pot, supporting the root ball.
- Planting: Place the rooted cutting in its new pot or garden spot at the same depth it was previously growing. Backfill gently and water thoroughly.
For more tips on seamlessly expanding your azalea garden, explore
Expand Your Garden: Propagate Azaleas from Cuttings Simply.
Conclusion
Learning how to propagate azaleas from cuttings is a truly rewarding endeavor that empowers you to multiply the beauty of your garden without the recurring expense of buying new plants. While it requires a bit of patience and attention to detail, the process itself is quite simple and provides immense satisfaction. By selecting healthy stems at the right time, preparing them with care, and providing a nurturing environment, you'll soon be enjoying an expanded collection of these magnificent flowering shrubs, all thanks to your green thumb. So, grab your shears, embrace the journey, and watch your azalea dreams blossom!